These southern 3-ingredient crescent sausage bites are the kind of thing that disappear from the platter before you can even set down the rest of brunch. My aunt has been making a version of these for Easter brunch in our family for years, and every time, people hover by the oven asking when the next pan will come out. They lean into that classic Southern combo of savory breakfast sausage and buttery bread, but with the weeknight convenience of refrigerated crescent dough.
This is a practical, no-fuss recipe that delivers exactly what you want from a brunch bite: golden, flaky pastry wrapped around juicy, well-seasoned sausage, with crisp, caramelized edges that make them hard to stop eating.
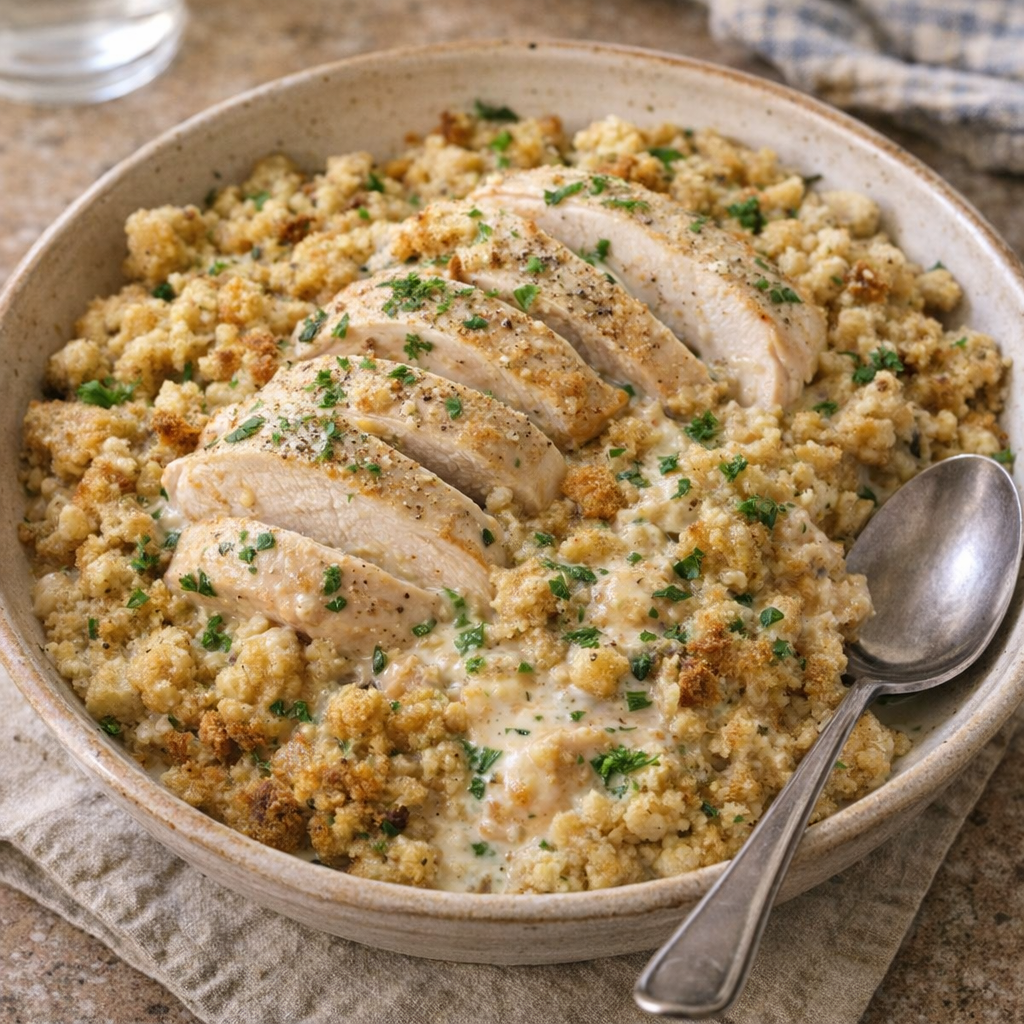
Platter of baked crescent sausage bites on a brunch table
Platter of baked crescent sausage bites on a brunch table
Serve these warm on a big platter with a small bowl of good mustard or pepper jelly on the side, though they truly don’t need a thing. They fit right in on a brunch table next to scrambled eggs, a simple fruit salad, and maybe a green salad or roasted asparagus if you want something fresh.
For a heartier spread, pair them with cheesy grits or hash browns. If you’re serving a crowd, keep batches warm in a low oven (about 200°F) and set them out in waves so they stay crisp and irresistible.
Southern 3-Ingredient Crescent Sausage Bites
Servings: 24 bites
Ingredients
1 (8-ounce) tube refrigerated crescent roll dough
8 ounces bulk pork breakfast sausage (mild or hot, uncooked)
4 ounces cream cheese, softened (half of a standard 8-ounce block)
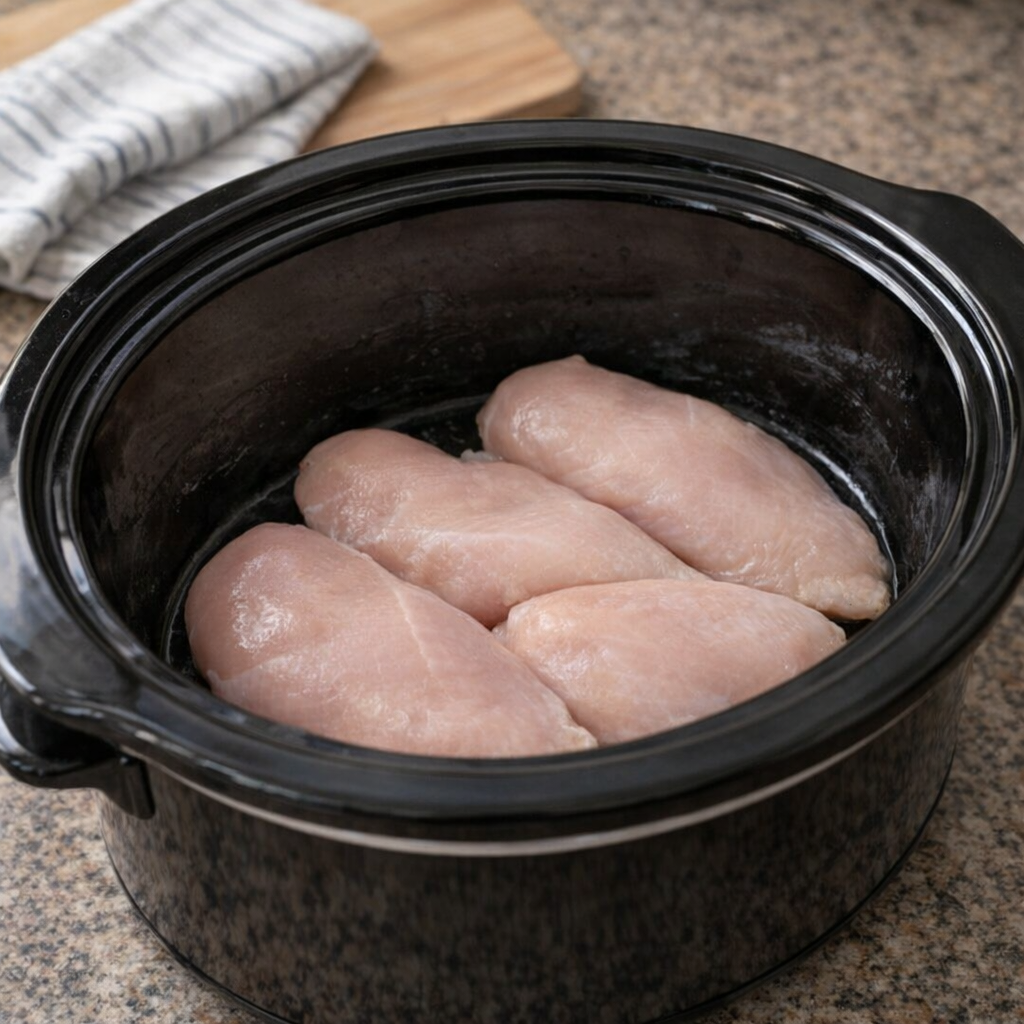
Three ingredients arranged on a kitchen counter
Three ingredients arranged on a kitchen counter
Directions
Preheat your oven to 375°F (190°C). Line a large baking sheet with parchment paper or lightly grease it so the bites don’t stick and the bottoms can crisp nicely.
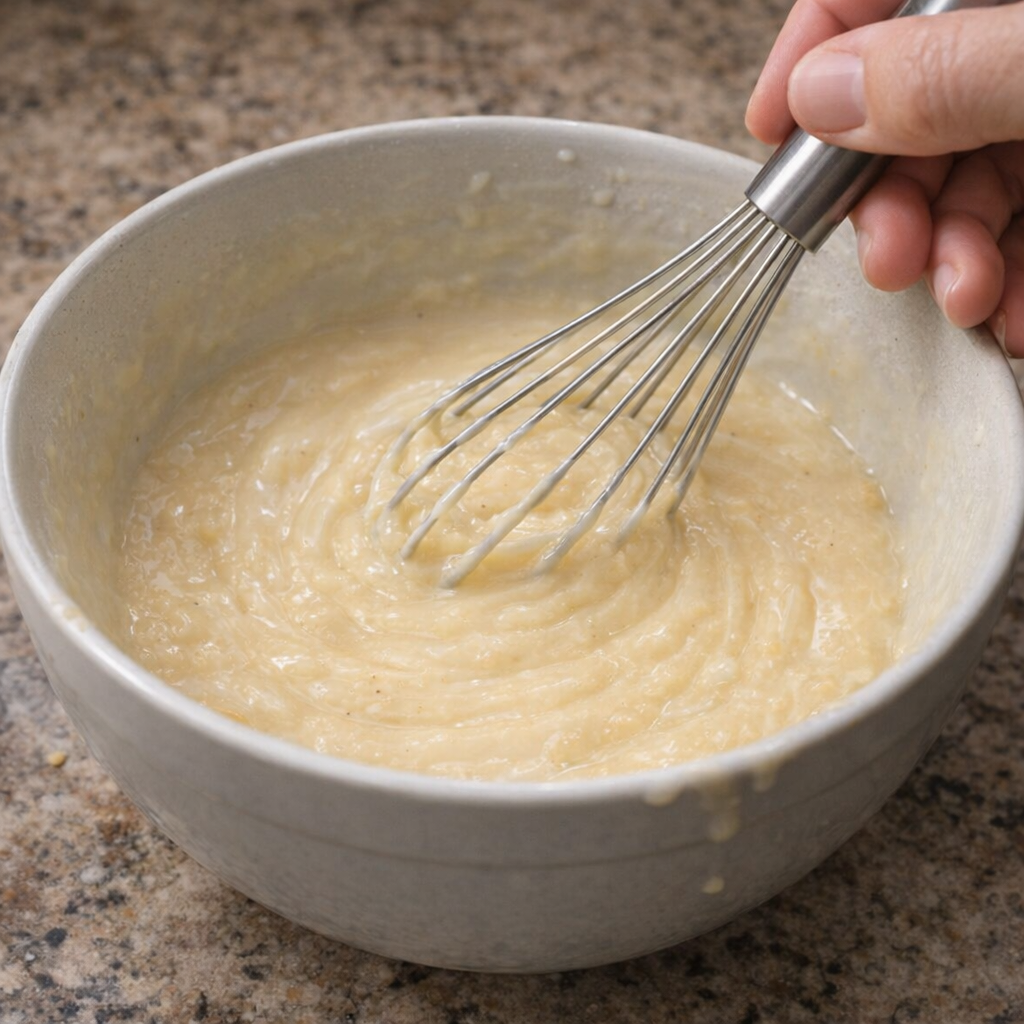
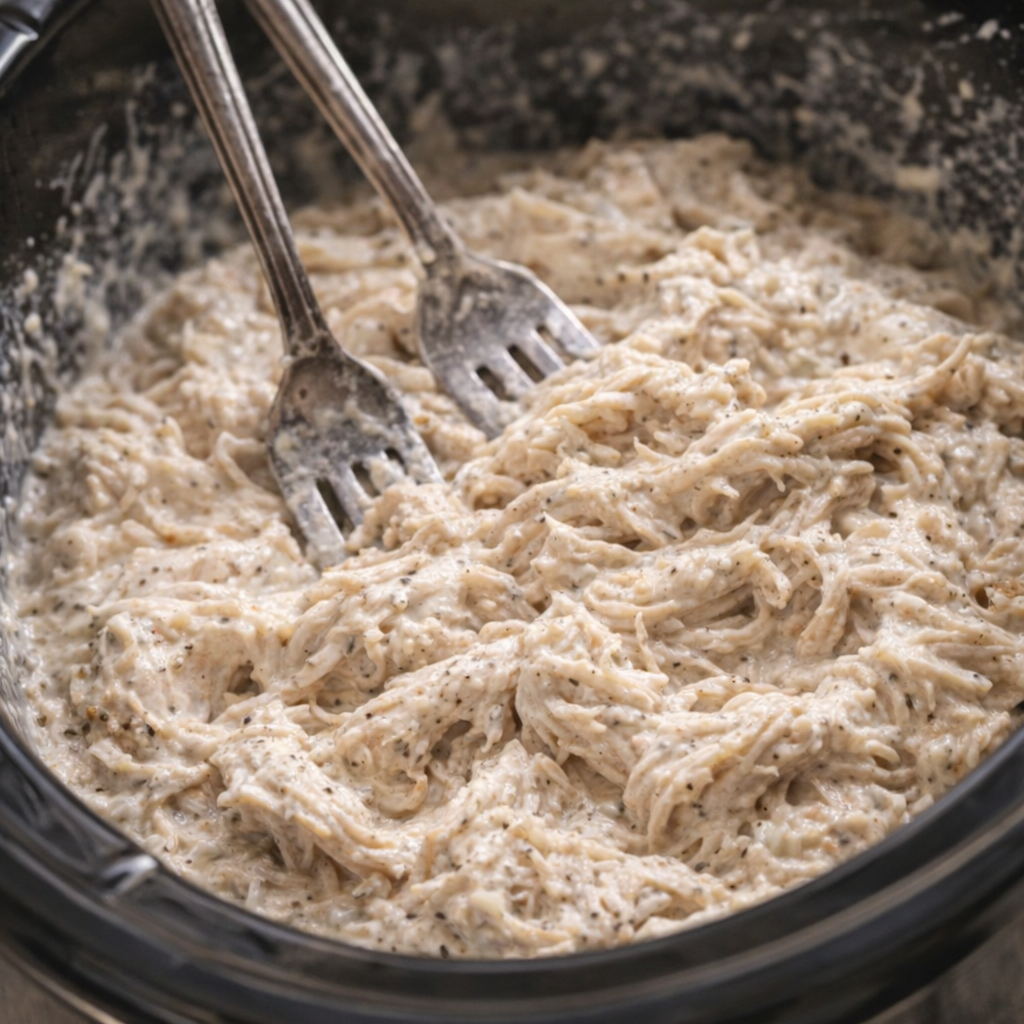
In a medium bowl, combine the uncooked pork breakfast sausage and softened cream cheese. Use a fork or clean hands to mix until the cream cheese is fully worked into the sausage and the mixture looks uniform with no big streaks of cream cheese remaining.
Sausage and cream cheese filling being mixed in a bowl
Sausage and cream cheese filling being mixed in a bowl
Open the tube of crescent roll dough and gently unroll it onto a lightly floured surface or a sheet of parchment. Separate along the perforations into 8 individual triangles.
Cut each crescent triangle into 3 smaller triangles by slicing from the tip down toward the wide base, creating 3 long, skinny triangles from each original one. You should end up with 24 small triangles of dough.
Crescent dough cut into small triangles on parchment
Crescent dough cut into small triangles on parchment
Divide the sausage-cream cheese mixture into 24 small portions. An easy way is to pat the mixture into a rough log and cut it into 24 pieces, or use a teaspoon to scoop even mounds.
Place one portion of the sausage mixture near the wide end of each small crescent triangle. Gently roll the dough up over the filling toward the pointed end, tucking in the sides a bit as you go so the sausage is mostly enclosed. Pinch any obvious gaps closed so the filling doesn’t leak excessively while baking.
Unbaked sausage bites being rolled on a work surface
Unbaked sausage bites being rolled on a work surface
Arrange the wrapped bites on the prepared baking sheet, leaving a little space between each one so air can circulate and the edges can brown. Position them with the pointed tip of the dough tucked underneath to help them hold their shape.
Bake in the preheated oven for 14–18 minutes, or until the crescent dough is deep golden brown and the sausage is fully cooked through. You should see some caramelized edges where a bit of fat and cream cheese have bubbled and crisped around the bottom.
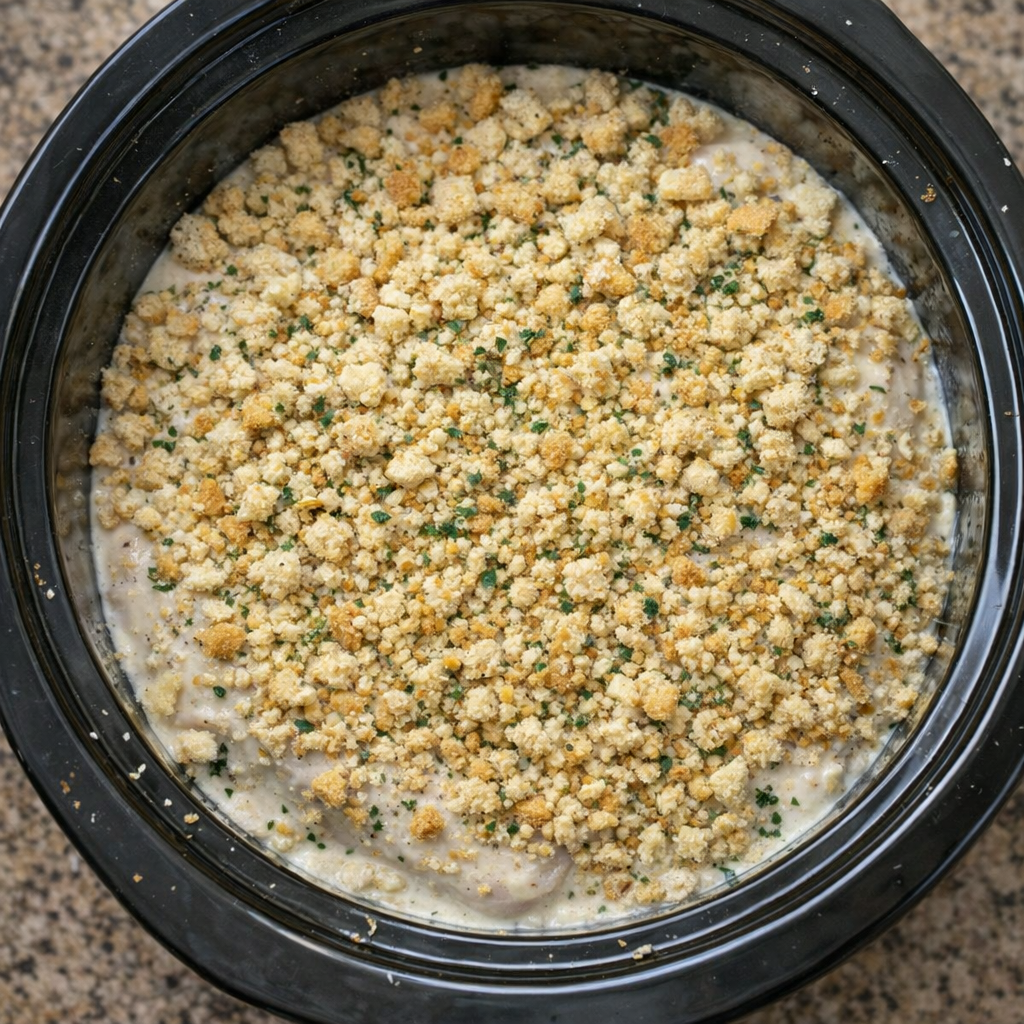
Freshly baked crescent sausage bites on a sheet pan
Freshly baked crescent sausage bites on a sheet pan
Remove the pan from the oven and let the bites rest on the baking sheet for 3–5 minutes. This brief rest lets the filling settle and makes them easier to pick up without burning your fingers.
Transfer to a serving platter and serve warm. If you are baking in batches, keep the first batch warm in a 200°F (95°C) oven while the next pan bakes.
Variations & Tips
You can easily adapt these bites while keeping the core three-ingredient idea intact. For a spicier version, use hot breakfast sausage instead of mild, or choose a sage or maple sausage for a slightly different flavor profile. If you prefer a leaner option, turkey breakfast sausage will work, but keep an eye on baking time; leaner meat can dry out more quickly, so pull them from the oven as soon as the dough is golden and the centers are cooked.
Serving platter of sausage bites with dipping sauces
Serving platter of sausage bites with dipping sauces
To add a touch of sweetness without adding ingredients to the filling, serve with a small dish of honey, maple syrup, or pepper jelly for dipping alongside the platter. For a more pronounced tang, use whipped cream cheese or a chive-and-onion cream cheese in place of plain.
To prep ahead, you can mix the sausage and cream cheese up to 24 hours in advance and refrigerate it tightly covered; assemble and bake just before serving so the dough stays flaky. For food safety, always start with cold sausage, keep the filling mixture refrigerated if you’re not shaping right away, and wash your hands and any utensils or surfaces that touch raw pork.
Bake until the internal temperature of the sausage bites reaches at least 160°F (71°C) in the center of one of the larger pieces. Do not leave the baked bites at room temperature for more than 2 hours; refrigerate leftovers promptly and reheat in a 350°F (175°C) oven until warmed through to maintain a crisp exterior.