My neighbor Ruth brought this Amish-style chicken and green bean bake to a church potluck years ago, and I remember the way the room went quiet for a moment when folks took their first bite. Then the questions started flying: “Who made this?” and “Can I get that recipe?” No one could believe it was only four ingredients. It’s the kind of humble, oven-baked dish that feels right at home on a Midwestern table—simple pantry staples, a glass baking dish, and a little time in the oven until the edges bubble and brown.

This is comfort food you can put together in minutes on a busy evening, but it tastes like it’s been in the family for generations.
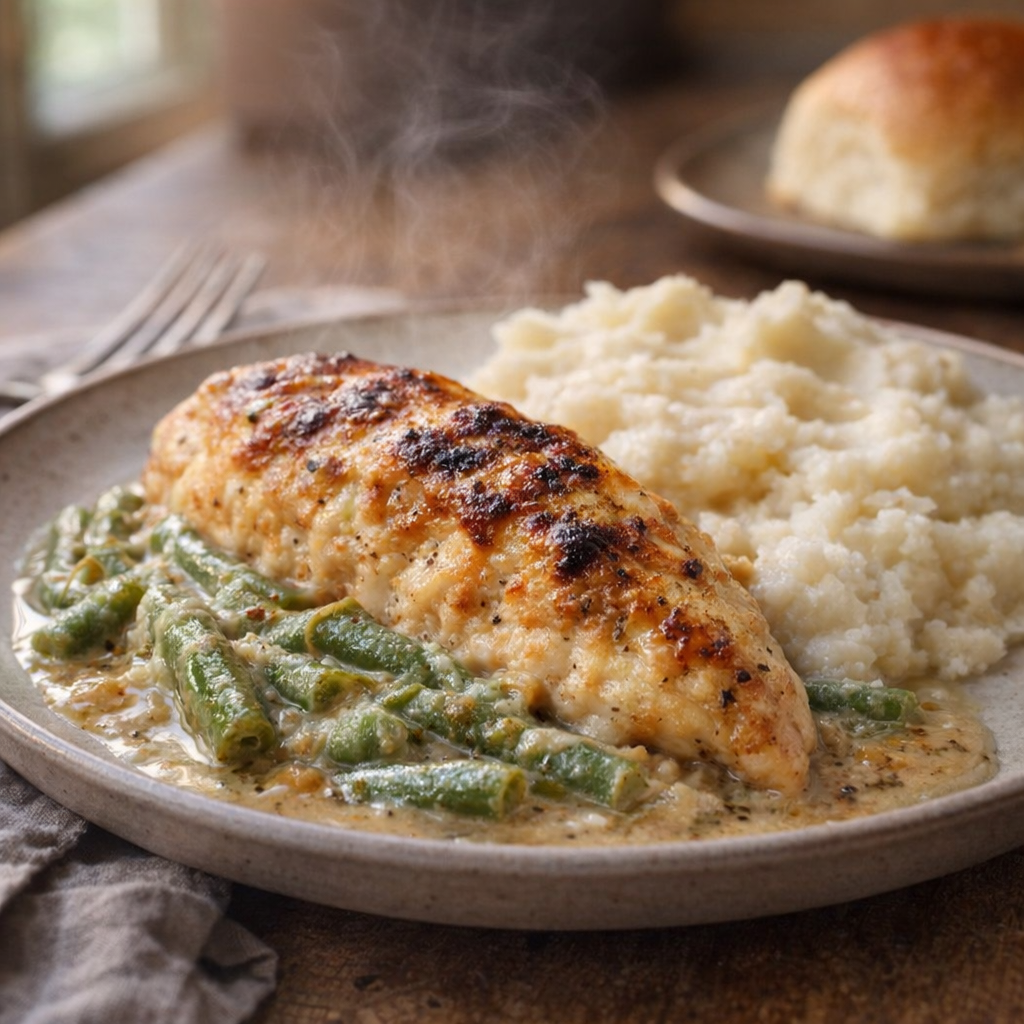
Serve this chicken and green bean bake straight from the glass dish while it’s still bubbling around the edges. It’s wonderful over a scoop of fluffy mashed potatoes or buttered egg noodles to catch the savory juices. A simple side of sliced tomatoes or a crisp lettuce salad with a light vinaigrette balances the richness. If you like, add a basket of warm dinner rolls or buttered bread to soak up every last bit of the sauce.
Oven Baked 4-Ingredient Amish Chicken and Green Bean Bake
Servings: 4
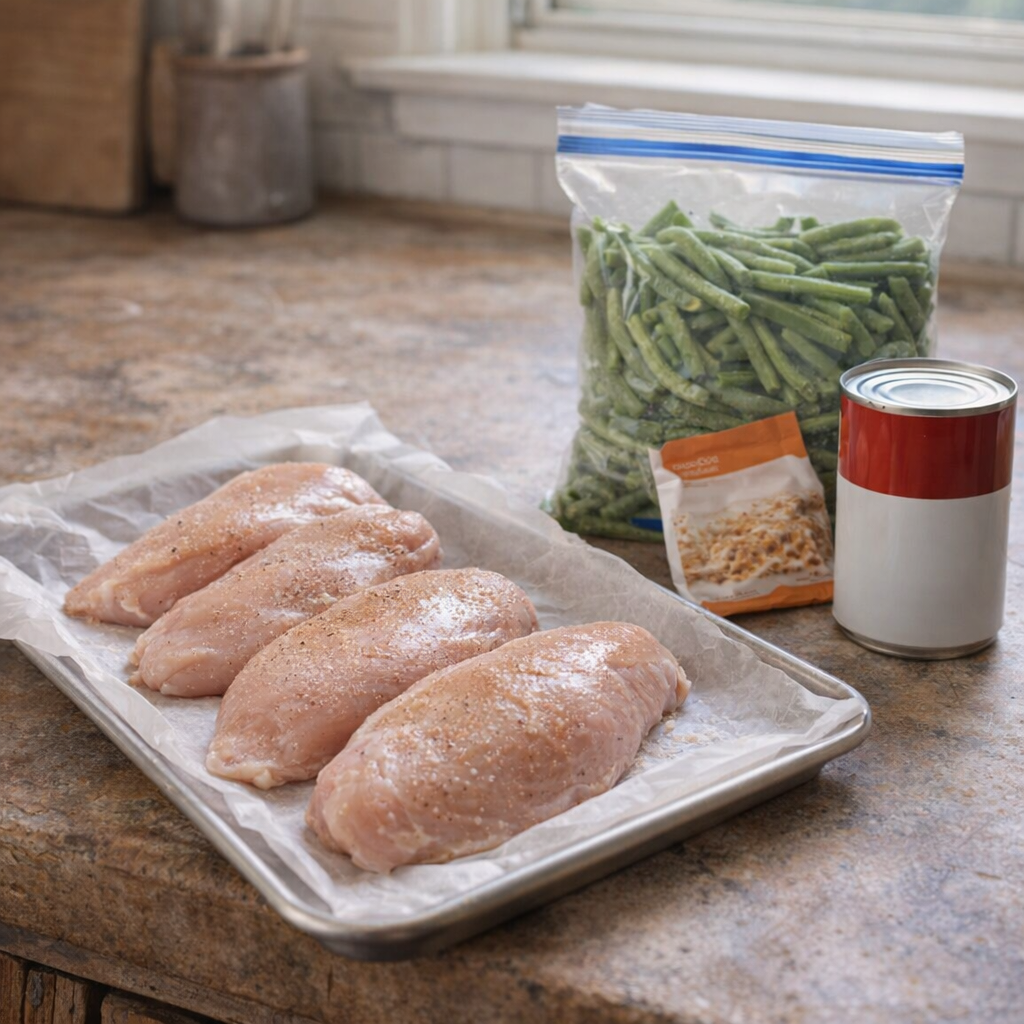
Ingredients
2 pounds bone-in, skin-on chicken thighs or drumsticks
Directions
Preheat your oven to 375°F (190°C). Lightly grease a 9x13-inch glass baking dish so the edges don’t stick as they brown.
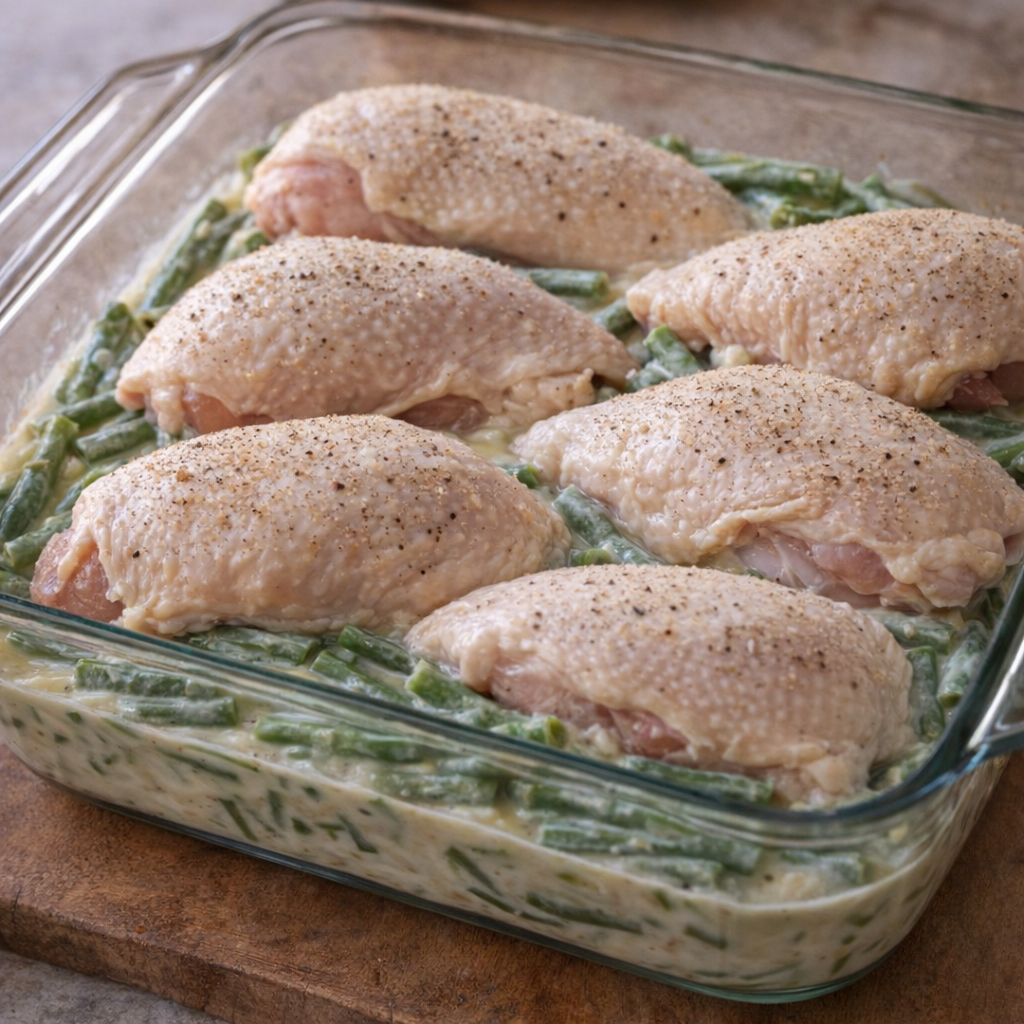
Spread the frozen green beans in an even layer in the bottom of the glass baking dish. No need to thaw them first; they’ll cook up tender in the oven.
In a small bowl, stir together the condensed cream of mushroom soup and the dry onion soup mix until well combined. It will be thick and very flavorful.
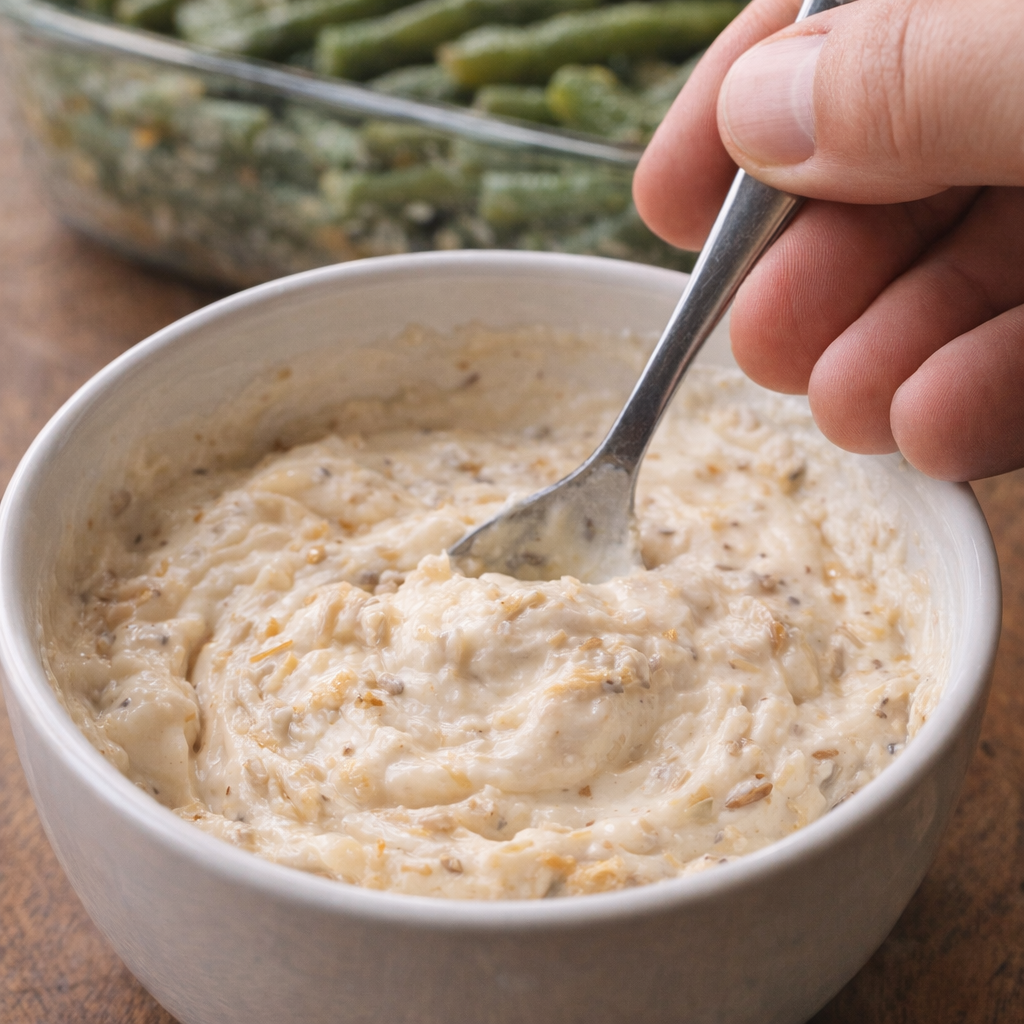
Spoon the soup mixture over the green beans and gently spread it so it covers most of the beans. Don’t worry if a few beans peek through; the juices from the chicken will mingle with the sauce as it bakes.
Pat the chicken pieces dry with paper towels and arrange them skin-side up on top of the sauced green beans, spacing them evenly so they brown nicely. Press them down just enough so they sit snugly in the sauce but still have the skin exposed.
Place the baking dish on the middle rack of the preheated oven and bake, uncovered, for 50 to 60 minutes, or until the chicken is cooked through (an instant-read thermometer should read 165°F/74°C in the thickest part) and the skin is golden with browned edges. The sauce around the sides of the glass dish should be bubbling.
If you’d like the top a little more browned, move the dish to the top rack for the last 5 to 10 minutes of baking, watching closely so it doesn’t scorch.
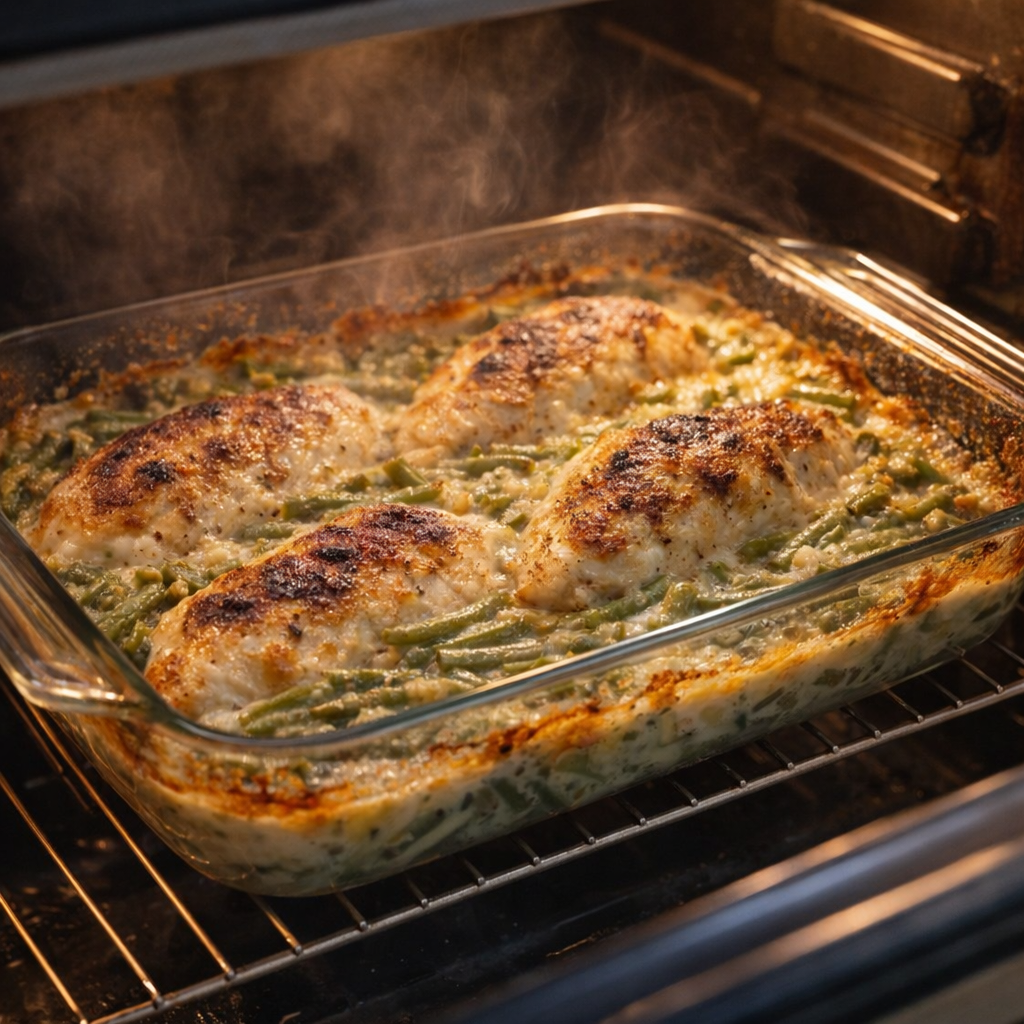
Remove the dish from the oven and let it rest for about 5 minutes so the bubbling settles and the juices thicken slightly. Serve the chicken with a generous spoonful of the green beans and sauce from the bottom of the dish.
Variations & Tips
For a creamier dish, stir 1/4 cup of milk or half-and-half into the soup and onion mix before spreading it over the green beans (this technically adds a fifth ingredient, but it’s a nice option if you don’t mind stretching the rules).
You can swap the cream of mushroom soup for cream of chicken or cream of celery if that’s what you keep on hand; each gives a slightly different but still very homey flavor. If you prefer white meat, use bone-in, skin-on chicken breasts and check for doneness around 40 to 45 minutes so they don’t dry out.
For a bit more browning and texture, you can briefly broil the top at the end, watching carefully. To make cleanup easier, line the baking dish with a light coating of cooking spray before adding the green beans.
Leftovers reheat well in a low oven, covered with foil, until warmed through; the flavors actually deepen by the next day. If you need to feed more people, you can snug a few extra chicken pieces on top and add another small handful of green beans underneath, but don’t crowd the pan so much that the chicken can’t brown.